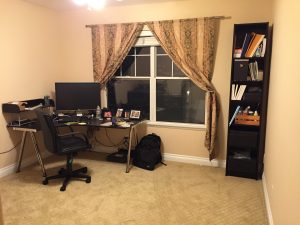
Since I work from home, I spend a good deal of time in my home office. When we moved in 2015, the same furniture was placed into the office, even though it barely filled the room and the desk was taller than the window.
Before:
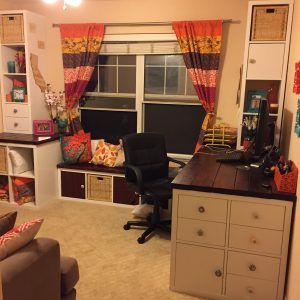
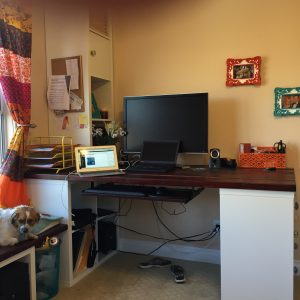
After:
I wanted to remodel, and decided to make my own desk. Initially I was inspired by file cabinet legs with wood top, but decided ultimately decided to do something with Ikea Kallax. This is definitely an Ikea hack I’m happy about.
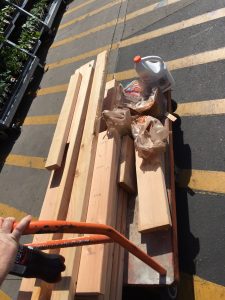
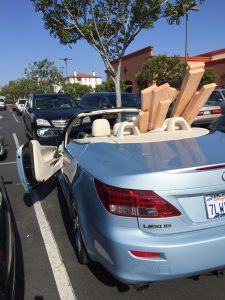
First of all, I HATE visiting Ikea. I don’t have a car big enough for furniture boxes and the pandemonium and panic attack from being lost in the maze of funny named Swedish home organization…eek. I made my plans on paper, put together an Ikea shopping list, and assigned a Task Rabbit. The cost to shop, deliver, and assemble half of this was the same price as Ikea delivery. Such a cool service.
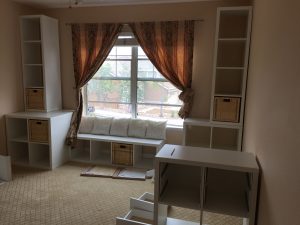
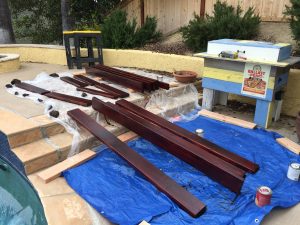
Here it is with the Ikea Kallax bits in placeHome depot cut the lengths neededSurprising versatile little carStarted with a Walnut stain first cut, then a Mahogany to get something darker. Sanded, did the pre-treatment coat, stain coat, sanded before second coat since they had seal built in.
Looking pretty
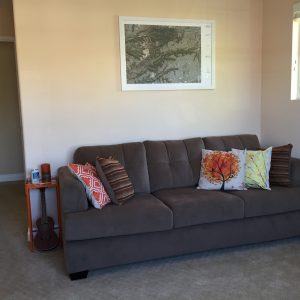
Picked out a sleeper sofa to make this into an extra guest room when family visits. Went for the queen memory foam.
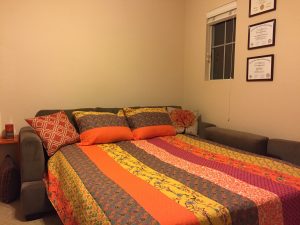
The quilt set that inspired the colors of the whole room.
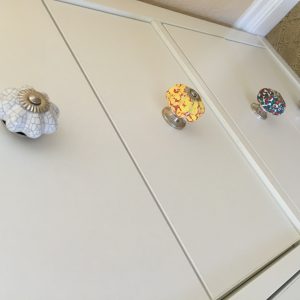
I assembled drawers and doors and replaced the knobs from default to my own hand painted versions.
I initially spray painted some of the doors a bright color and did some stencil flowers. I hated it so I got a roll of vinyl mahogany covering and put that on a couple doors. Knobs replaced as well.Some decor is picked out. Ordered the matching “shower curtains” and sewed them to be regular curtains.Ordered a keyboard slide out to mount under the desk. Spray painted desk items to be orange, yellow, hand painted picture frames.Finished!Happy office.
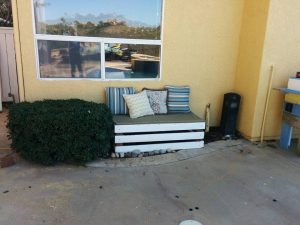
This was a project in early March 2016. The last of the leftover wood from fence falling over was put to good use.
Before:
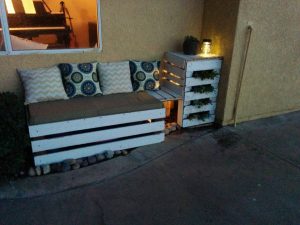
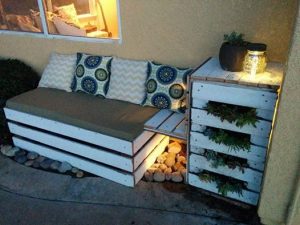
Real estate photo before moving in. Look to the left of the chimney where there is a black box and a bush with some wood shavings to fill the dirt.I bult a simple box and used stones around the curved edges. Already had the pillows and the outdoor green/brown fabric. Also repurposed packing material from my last job that was nice foam inserts for the main bench pad.Ugly black box coveredSucculents planted vertically (trick, let it root down for 1-2 weeks horizontally and then mount vertically)
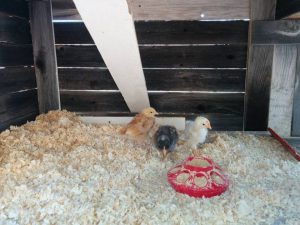
This was a major project and most ambitious one yet. I adopted some chickens and am building a coop as they get old enough to live outside. Materials are sourced from our fence that blew over from El Nino. Good news, insurance covers the fence. Lots of raw material to make plenty of mistakes.
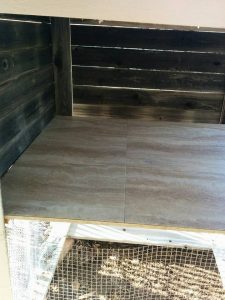
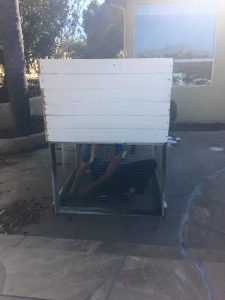
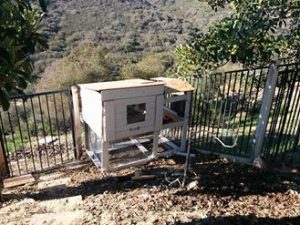
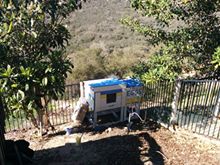
Making a boxThat box has a floor halfway between. Vinyl flooring for easier cleaningClosing off the top story and chicken wire on the bottom.Moved it to its location and added secondary box with ramp downstairs and where the roosting will beInside the main coop living area.Some paint, looking good!Close, pretty much finished
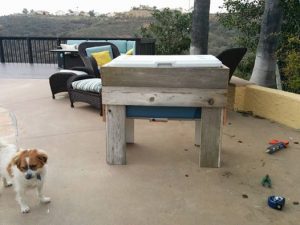
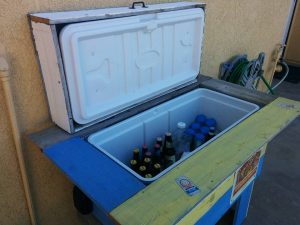
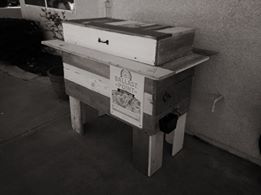
El Nino blew over our fence! No worries, insurance is paying for it. What to do with all this wood and being unemployed? Project #1 begins:
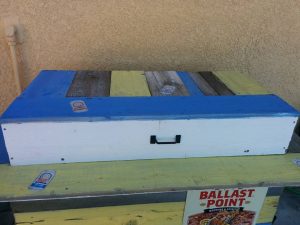
Had a large nice chest and started building around it with long legs and an enclosure. My first woodworking project.Finished and paintedOpen chestApologies for black and white, my phone’s accident. Here it is finished with bottle opener on side, catch for bottle caps, and a drain.